
Step-by-Step Guide to Self-Hosting n8n Locally Using Docker and ngrok
Self-hosting n8n on your own local machine lets you run this powerful automation tool in a way that’s private and secure, without relying on cloud services. This guide will walk you through all the steps to set up n8n locally using Docker, a really dependable container platform, and also show you how to securely expose your local instance using ngrok.
Why Host n8n on Your Local Machine?
Running n8n locally puts you in full control of your automation workflows and data. It helps you avoid ongoing cloud costs and also cuts down on latency, which can really speed up your testing and development. Plus, hosting locally boosts security and flexibility, so you can tweak your environment as needed.
Prerequisites for Local n8n Setup
Before getting started, make sure your system meets these requirements:
Installing Docker Desktop (Windows/macOS)
For Windows and macOS, download and install Docker Desktop from the official Docker website. If you’re on Windows, just be sure virtualization is enabled in your BIOS. After installing, open a terminal or command prompt and type "docker --version" to check that Docker is running. Note that the Docker Desktop app includes Docker Compose and manages container networking, which simplifies the setup.
Installing Docker Engine (Linux/Ubuntu)
On Linux, install Docker Engine using your package manager. For Ubuntu, run commands like "sudo apt-get update" followed by "sudo apt-get install docker-ce docker-ce-cli containerd.io". Then add your user to the docker group with "sudo usermod -aG docker $USER" and log out and back in. Verify the installation by running "docker --version". Linux users should also ensure that their firewall settings allow Docker's network traffic.
Step-by-Step: Setting Up n8n Locally with Docker
Pulling the n8n Docker Image
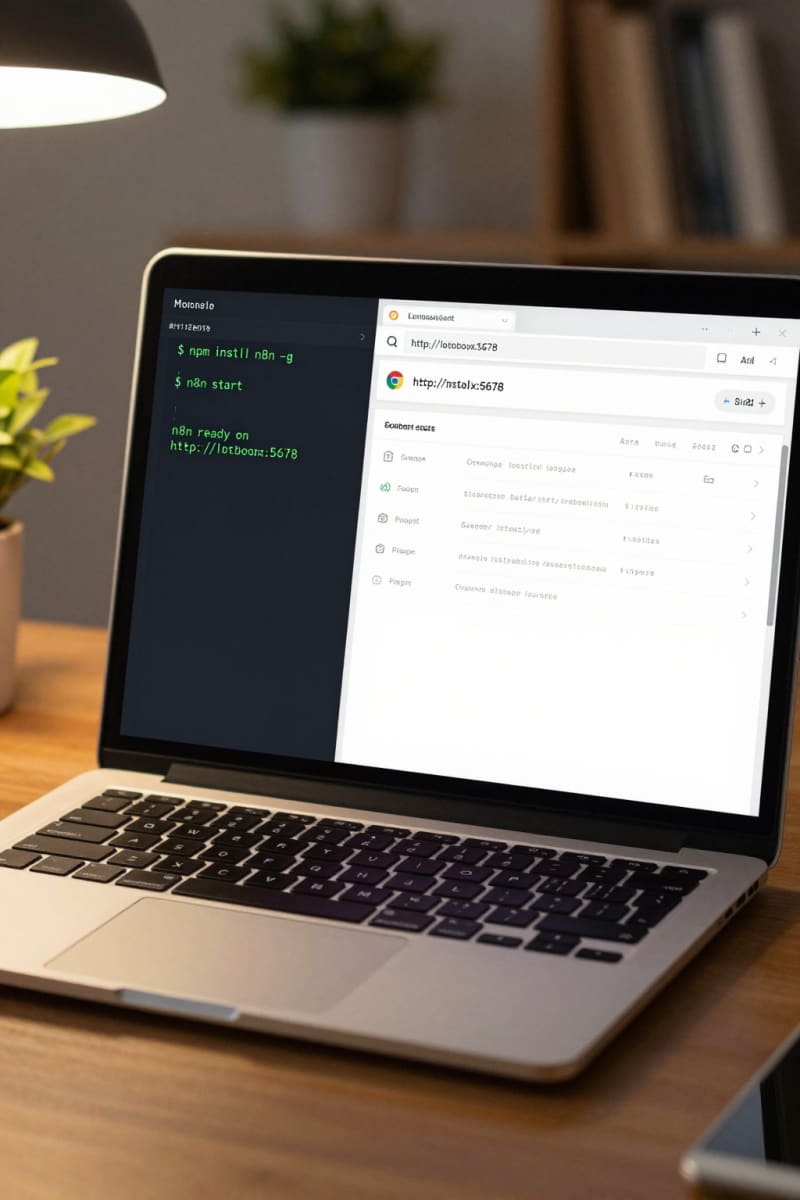
Open a terminal and run "docker pull n8nio/n8n" to download the latest n8n image.
Running the n8n Container and Accessing the UI
Start the container using:
docker run -it --rm --name n8n -p 5678:5678 n8nio/n8nThis maps the container’s internal port 5678 to port 5678 on your localhost. Once it’s running, just open your web browser and go to http://localhost:5678 to access the n8n user interface. If using Windows with WSL2 or macOS, localhost points to your machine correctly; Linux setups typically are the same but check network configurations if issues arise.
Configuring Persistent Data Storage (Volumes)
To avoid losing workflows, credentials, and other important data when the container stops or is removed, you should mount a volume for persistent data storage:
docker run -it --rm --name n8n -p 5678:5678 -v ~/.n8n:/home/node/.n8n n8nio/n8nReplace "~/.n8n" with a directory on your system where you want to save the data. For example, on Windows you might use "C:\Users\YourName\.n8n". This approach ensures that your workflow data remains safe and consistent across container restarts or updates.
Accessing n8n on Localhost
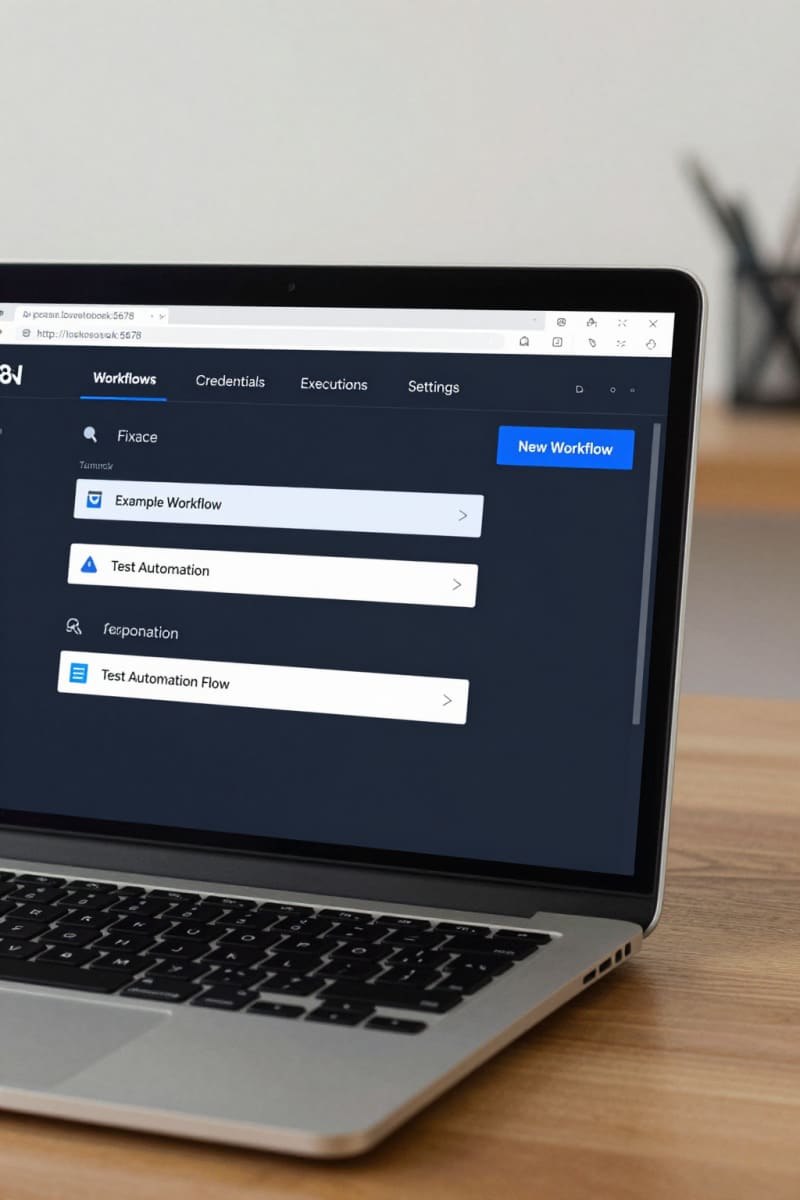
Simply open your web browser and go to http://localhost:5678. The n8n interface will appear, ready for you to start building your automation workflows. If you mapped a different port due to conflicts, adjust the URL accordingly.
Basic Configuration and First Workflow
When you first get into n8n, you can set up your credentials and create your first workflow securely. Start by connecting two nodes, such as a Webhook Trigger and an HTTP Request, to see automation in action. For example, a Webhook node can listen to inbound HTTP requests, which then trigger an HTTP Request node to fetch external data. Don’t forget to save your workflows often to prevent any data loss. Also consider enabling authentication if exposing n8n publicly.
Troubleshooting Common Local Hosting Issues
Container Not Starting or Errors
Make sure Docker is running correctly and that the n8n image downloaded successfully. You can check container logs with "docker logs n8n" to find detailed error messages. Common issues include missing dependencies or port binding failures.
Port Conflicts
If port 5678 is already occupied by another application, change the local port mapping in the "docker run" command. For example, try "-p 5679:5678" and then access n8n at http://localhost:5679. To identify which process is using a port, use commands like "netstat -anb" on Windows or "lsof -i :5678" on Linux/macOS.
Access Denials
Check your firewall settings and confirm Docker has the needed network permissions on your system. Sometimes corporate firewalls or antivirus programs block localhost ports, which can interfere with access. Ensure that Docker Desktop or the Docker daemon is granted network permissions. On some networks, adjusting firewall rules or disabling VPNs might be necessary.
FAQ: Why Can't I Access n8n on localhost Even Though the Container is Running?
- Ensure the port mapping is correct and not blocked.
- Verify Docker is using the correct network mode.
- Confirm no other service occupies that port.
- Check browser proxy settings that might affect localhost access.
Advanced Local Hosting: Exposing n8n with ngrok
Why Use ngrok?
Ngrok lets you safely expose your local n8n server to the internet by creating a temporary public URL. This is really handy for testing webhooks or collaborating remotely without deploying to the cloud. It also avoids complex router or firewall configurations.
Setting Up and Using ngrok with n8n
- Download and install ngrok from its official website.
- Run your n8n container on your chosen local port.
- Open a new terminal and run "ngrok http 5678" (swap 5678 for your port if different).
- Ngrok will give you a public HTTPS URL that tunnels to your local n8n instance.
- Use that URL to set up webhooks or safely share access with others.
When using ngrok, be aware that the public URL is temporary (until you restart ngrok) and access should be secured by n8n’s built-in authentication or IP restrictions, especially if exposing sensitive workflows.
Updating and Managing Your Local n8n Instance
Regularly pull the latest n8n Docker image by running "docker pull n8nio/n8n" and restart your container to get new features and security fixes. Always back up your persistent data folder before updating so you don’t lose anything. To automate this, consider scripts or scheduled tasks.
Conclusion: Maximizing Your Local n8n Environment
Running n8n locally with Docker hands you a powerful, cost-effective automation platform that you can customize. Adding ngrok for secure external access further opens up what you can do with your workflows. With the detailed setup steps, tips for solving common issues, and advanced options here, you should feel quite confident running and managing n8n on your machine. For more practical resources and guides, drop by Agents Manual at https://www.agentsmanual.com/ to explore automation technology more deeply.