
n8n VPS for Beginners: A Step-by-Step Guide to Starting Your Automation Journey
n8n is a flexible automation platform that links various apps and services to automate tasks without needing complex coding. Hosting n8n on a Virtual Private Server (VPS) gives you full control over your automation workflows, can save costs compared to cloud services, and improves privacy by keeping your data on a server you manage.
Understanding the Basics: What a VPS Is and Why It Matters for n8n
A VPS is a virtualized server rented from a hosting provider, working like a dedicated computer running continuously in a data center. Imagine it as your own personal computer in the cloud, which you can access anytime from anywhere. For n8n, a VPS provides a private and reliable environment to run your automation workflows without interruptions that might happen on shared hosting. It’s usually more affordable and flexible than managed cloud services, which makes it a great fit for beginners wanting to learn and build their automation skills.
Choosing Your First Beginner-Friendly VPS Provider

When picking a VPS provider, think about price, ease of use, customer support, and server location—ideally in the United States for faster connection speeds. Beginner-friendly options include DigitalOcean, Vultr, and Google Cloud, all of which offer user-friendly interfaces and clear setup guides. Additionally, providers that offer free tiers or trial credits allow you to test their services risk-free before committing. Look for providers that offer one-click OS installs and have active customer support to help if you get stuck.
Getting Started: Setting Up Your VPS
Once you've chosen a provider, create an account and launch your first VPS instance. Start with a server that has at least 1GB of RAM and basic storage. For a smoother setup, pick a pre-configured operating system like Ubuntu 22.04, which is widely supported and beginner-friendly. Your VPS provider will share login details like your IP address, username, and password. These details let you remotely connect to your server, which is the next step.
Step-by-Step: Installing n8n on Your VPS (Using Docker for Simplicity)
Docker is a tool that simplifies the process of running applications like n8n by packaging everything it needs into one neat container. This avoids complicated installations and version conflicts.
- Connect to your VPS via an SSH client (Terminal on Mac/Linux or PuTTY on Windows) using:
ssh username@your_vps_ip - Update your server packages by running:
sudo apt update && sudo apt upgrade -y - Install Docker to make n8n installation simpler:
sudo apt install docker.io -y - Check Docker installation with:
docker --version(This confirms Docker is ready to use.) - Download and run the n8n Docker container using:
docker run -d --name n8n -p 5678:5678 n8nio/n8n
This command downloads and starts n8n, making it accessible on port 5678 of your server.
By using Docker, your n8n installation is isolated inside a container, which helps keep your server clean and reduces conflicts.
Essential Post-Installation: Accessing n8n and Basic Security
To access n8n, open your web browser and go to http://your_vps_ip:5678/. You’ll see the n8n dashboard where you can start creating automations.
Security is important when you open your server to the internet. At a minimum, set a password for your n8n instance to prevent unauthorized access. To protect your data, enable HTTPS which encrypts the connection. Beginners can use free SSL certificates from Let’s Encrypt combined with Nginx, a popular web server, as a reverse proxy to handle secure connections. Many VPS providers have step-by-step tutorials for setting this up, or you can find beginner-friendly guides online.
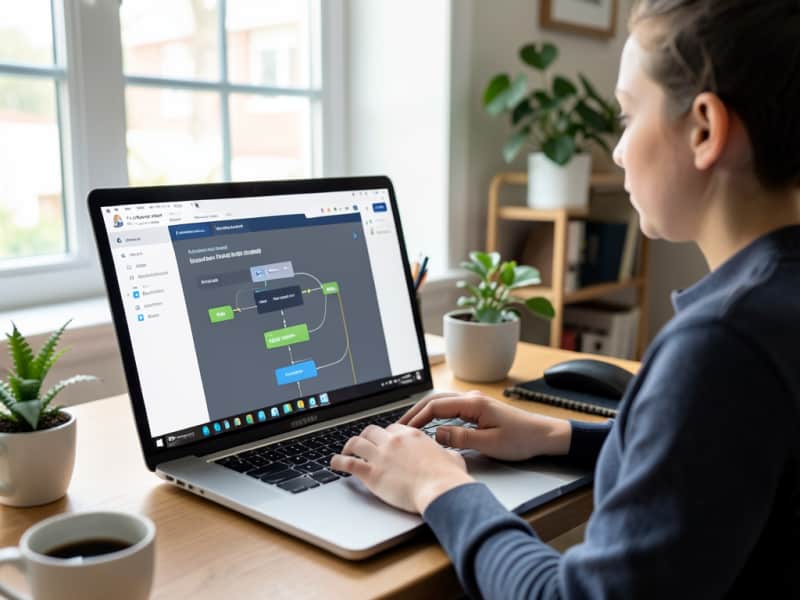
Your First Automation: A Simple n8n Workflow for Beginners
Start with a simple workflow: for example, sending an email notification when a new file is added to a Dropbox or Google Drive folder.
- In n8n, create a new workflow.
- Add a trigger node like Dropbox’s “New File” trigger to watch for new uploads.
- Add an action node such as “Send Email”.
- Enter your account details for each service.
- Activate and run the workflow to see automation in action.
This example helps you understand the basic building blocks of n8n: triggers (events) and actions (tasks) without needing to write code.
Troubleshooting Common Beginner Issues
Beginners sometimes face issues such as connection errors, firewalls blocking access, or Docker containers not running properly.
- Make sure your VPS firewall allows traffic on port 5678, which you can check with your provider’s control panel or command-line firewall tools.
- Verify Docker containers are running by typing:
docker ps - To see detailed logs for the n8n container, use:
docker logs n8n
If these steps don’t resolve your problems, look for help in your VPS provider’s support forums or the active n8n community, where many users share solutions.
Next Steps for Expanding Your n8n Automation Skills
Once you are familiar with your first workflow, explore more advanced automations by connecting multiple apps, using scheduled triggers to automate tasks at specific times, or integrating APIs for custom actions. n8n’s wide collection of nodes offers endless possibilities. For continued learning, Agents Manual provides practical guides that suit beginners looking to deepen their automation skills.
Setting up and running n8n on a VPS might seem tricky at first, but by following clear steps and understanding each part, beginners in the United States can confidently start automating their tasks. Hosting n8n on your own VPS puts the power to optimize your online activities right in your hands.