
A Beginner’s Step-by-Step Guide to Self-Hosting n8n on a VPS
n8n is a really powerful automation tool that lets you connect different applications and automate complex workflows without needing to write even a single line of code. For beginners wanting to jump into automation on their own terms, self-hosting n8n on a Virtual Private Server (VPS) provides a great mix of flexibility, control, and cost-effectiveness. This way, you get full control over your automation environment, can customize it as much as you like, and often deal with costs that are more predictable than some cloud-managed services.
Why Choose a VPS for Your n8n Automation?
Understanding the advantages of VPS compared to shared hosting and large cloud providers.
A VPS gives you dedicated virtual resources on a physical server, which means better performance and stronger security compared to shared hosting setups. Unlike shared hosting, where your performance can wobble because of other users’ activity, a VPS offers an isolated space. For automation tasks, having this dedicated environment means your n8n instance runs smoothly and reliably, without interruptions caused by other users on a shared server. This isolation is pretty important to make sure your automations trigger on time.
In addition, VPS environments typically allow root or sudo access, which you need to install Docker and configure your automation environment properly—something often restricted or impossible on shared hosting. While shared hosting might be simpler and cheaper initially, it usually lacks the flexibility and resources needed for reliable automation. Conversely, large cloud providers can be expensive or overwhelming for beginners—VPS offers a balanced solution.
Selecting Your First VPS: Key Considerations for Beginners and Budget-Friendly Options
Choosing the right specs and providers to start self-hosting n8n efficiently and affordably.
When it’s time to pick your first VPS, you want to think about CPU cores, RAM, and storage space. These directly impact how fast and well your n8n workflows run and how much data they can handle. The good news for beginners is that n8n works pretty well even on simple setups. For most starter projects, a VPS with 1 CPU core, 1-2 GB of RAM, and about 20 GB of storage should be enough to get going and manage a good number of automations. As your needs grow, you can typically upgrade these resources with your provider.
Also consider the storage type—SSD storage is preferred over traditional HDD due to faster read/write speeds, which improves overall system responsiveness.
Lots of providers offer free tiers or very affordable plans, perfect for starting out without spending a lot. Among the best beginner-friendly options are Hostinger, DigitalOcean, and Vultr. Hostinger especially offers a solid balance of price and performance, which makes it a great pick for newcomers to VPS and Docker setups. You can check out their budget-friendly plans optimized for n8n hosting here: https://hostinger.ae?REFERRALCODE=ASSGEMY21AXP
Pre-Installation Checklist: What You Need Before You Begin
Tools and preparations required for a smooth VPS and n8n installation.
Before jumping into setup, it's useful to get comfortable with the command line interface (CLI) since you’ll use it a lot to control your VPS. Knowing basic commands helps you navigate folders, manage files, and install software, all essential in server management and troubleshooting. Also, make sure you have an SSH client ready to securely connect to your server from your local machine. Windows users often go for PuTTY, whereas Mac and Linux users can use the built-in Terminal.
It’s optional but highly recommended to have a domain name and set up its DNS records before starting. This makes connecting to n8n much easier later on—you can use a site address like automation.yourdomain.com instead of just an IP address. Besides convenience, having a domain is important when obtaining SSL certificates, as certificate authorities require verification that you control the domain to secure it through HTTPS.
Preparing Your VPS: Initial Setup and Security
Basic security and system updates to prepare your VPS for n8n hosting.
Once you’ve connected to your VPS via SSH, the first thing to do is update your server’s packages. This makes sure you have the newest security patches, bug fixes, and system stability—important for any live environment. Use commands like sudo apt update then sudo apt upgrade (on Debian/Ubuntu systems).
Next, for better security, create a new user with sudo privileges rather than using the root user for daily tasks. The root account has unlimited access, making it a prime attack target. Running with a normal user and only using sudo for special tasks reduces security risks. Finally, set up a firewall using UFW (Uncomplicated Firewall) which is easy to use. It restricts server access to only required ports like SSH (22) for management, HTTP (80), and HTTPS (443) for web traffic, blocking unwanted connections.
Installing Docker and Docker Compose for n8n
Containerization basics and installation instructions for a hassle-free n8n setup.
Docker changes the game when it comes to application deployment because it bundles an app and its dependencies into a container, an isolated environment. That means n8n runs in its own space, no matter the server setup, preventing conflicts and making management easier. This works really well with n8n, making setup simpler and helping move it across systems.
Using Docker means you don’t have to worry about installing all the app dependencies manually or configuring the specific versions of software n8n needs. This containerization also makes backups and restores easier, and when updates come, you simply replace the container image rather than dealing with complex upgrade paths.
Start by installing Docker with the official commands for your server’s OS (like Ubuntu or CentOS). Then install Docker Compose, a tool that simplifies running multi-container apps. The docker-compose.yml file lets you configure all the services (n8n, database, etc.) in a single, easy-to-manage file. Together, Docker and Docker Compose cut down common beginner mistakes and smooth out the n8n installation.
Deploying n8n on Your VPS Using Docker Compose
How to create your project folder, configure Docker, and start the n8n service.
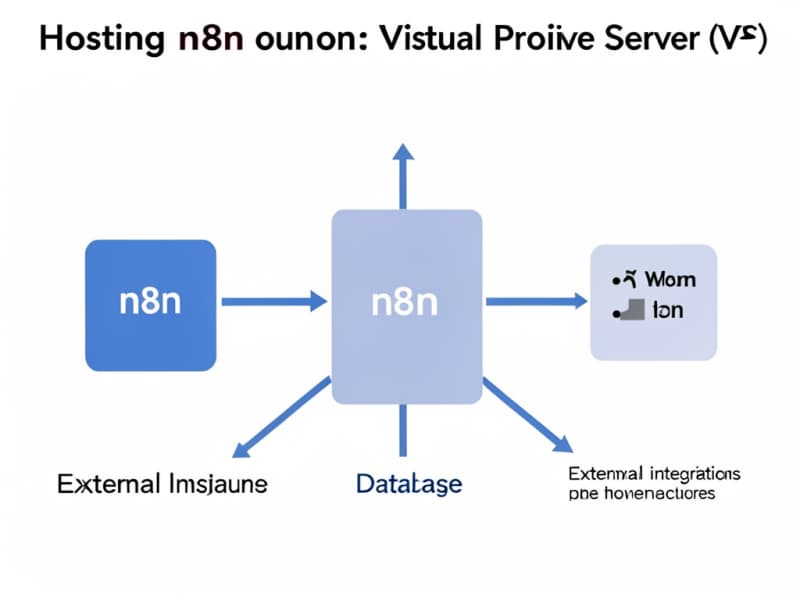
Create a project folder for n8n on your VPS, for example /opt/n8n. Inside it, you’ll make a docker-compose.yml file. This file is essential; it defines your n8n service and usually a database (PostgreSQL, SQLite), setting environment variables. These variables control things like the port (often 5678) and authentication secrets to make your setup safer. Getting this file right is key to a stable n8n.
Be sure to define persistent volumes for your database and n8n data. This ensures your workflows and credentials aren’t lost if the container stops or the server restarts.
After you save your docker-compose.yml, go to its folder in the terminal. Start your n8n container by running docker-compose up -d. The -d flag makes it run in the background, leaving your terminal free and keeping n8n going even after you disconnect. This method helps n8n run reliably, and you can update or change things just by editing the YAML file and restarting the services.
Accessing and Initializing Your n8n Web Interface
Opening your automation dashboard and setting up your first user credentials.
With n8n running, open a browser and go to your VPS IP or domain name plus the port n8n uses (default 5678). If your VPS IP is 192.0.2.10, you'd type http://192.0.2.10:5678. Ensure your firewall (UFW) lets traffic through this port, at least temporarily if you're not using a reverse proxy yet.
An easy setup wizard will pop up, helping you create your first username and password, then guiding you to start your first workflows. It’s important to pick strong credentials early to keep your server safe.
Securing Your n8n Instance with SSL (HTTPS) and a Reverse Proxy
Setting up HTTPS encryption and using a reverse proxy for secure and convenient access.
To protect your data as it moves and enable HTTPS automatically, setting up a reverse proxy is important. Common choices are Nginx or Caddy servers. A reverse proxy sits in front of your n8n app, forwarding client requests and sending back responses.
These tools not only securely forward requests but also manage SSL certificates, often for free via Let's Encrypt with Certbot. Doing this means all connections to n8n are encrypted—essential if you deal with sensitive info or private integration. Plus, with a reverse proxy, you can use your domain name without adding a port number like https://automation.yourdomain.com.
Setting up the reverse proxy also helps improve performance by handling connection pooling and caching static content if configured.
Your First Automation: Building a Simple Workflow in n8n
Getting started with creating your first automated tasks using n8n’s intuitive interface.
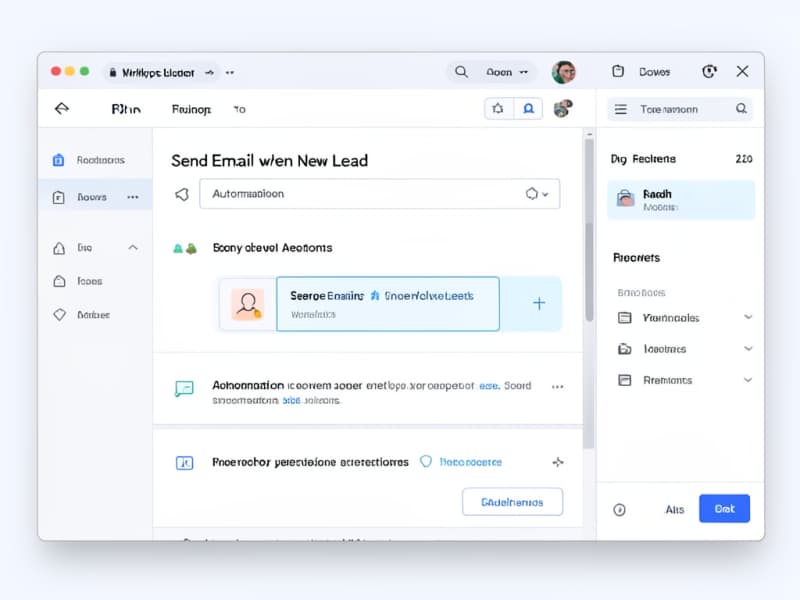
Now, the fun part: making your first automation! After logging in, you’ll see a canvas to start on. Begin with a simple workflow, like a webhook receiving data, sending emails automatically when events happen, or linking apps like Google Sheets to log data or trigger tasks. For example, you could make a workflow that notices a new item in a Google Sheet and sends a Slack or Telegram message.
n8n’s drag-and-drop interface makes this very approachable for beginners, letting you connect different nodes (apps/actions) and set how data flows. You can quickly build powerful automations that save time and lift productivity.
Common Issues and Troubleshooting Tips for Beginner n8n VPS Users
Helpful tips to resolve typical errors and keep your self-hosted n8n stable.
Running into "connection refused" errors is quite usual, often hinting at firewall settings or Docker container issues. First, check your firewall (using sudo ufw status) to confirm necessary ports (5678, 80, 443, 22) are open. Then, check Docker is running your containers (docker ps). If n8n isn’t listed, it’s not running.
If n8n still won’t start or connect, review your docker-compose.yml carefully for typos, wrong ports, or service problems. Also, look at Docker logs with docker logs [container_name] (replace with the right name from docker ps) to spot errors. Often, small config mistakes or network glitches cause issues, so a close look can save you lots of hassle.
For example, a common mistake is forgetting to expose the port correctly or missing environment variables for authentication that prevent the app from starting.
Maintaining and Updating Your Self-Hosted n8n Instance
Best practices for keeping n8n and your VPS secure, updated, and running smoothly.
To keep your n8n secure and smooth, regularly update your VPS OS packages, Docker, and n8n containers. This means you get new security fixes, performance boosts, and features from the community.
To update n8n, go to your project folder with the docker-compose.yml and run docker-compose pull to download the newest n8n image. When that finishes, restart with docker-compose up -d. This refreshes n8n safely without losing your workflows because your data usually sits in a persistent volume defined in the compose file.
Conclusion: Expanding Your Automation Skills
Reflecting on the benefits and encouraging continued learning in automation and server management.
Self-hosting n8n on a VPS is a really rewarding step, giving beginners full control over their automation. It unlocks many ways to streamline tasks, link services, and increase productivity, while letting you fully own your data and setup. Following these steps carefully will get you ready to set up, secure, and run n8n workflows made to fit your needs.
This whole process—from server prep to your first automation—gives you valuable skills in server management, Docker, and real-world automation. For ongoing help and more ideas, places like Agents Manual (https://www.agentsmanual.com/) offer practical guides and tips to keep building your automation know-how.
Related resources:
Top Profitable AI Automation Niches | Make Money Online in UK: Comprehensive Guide | 10 Proven Ways to Earn Money Online